Varnish Controller
First we need to create some tags, with tags we specify where we want our VCL to be deployed. We will create a production tag named prod.
In the CLI we can create tags with the tags add command. You will see the created tag as an output. Remember the tag ID, we will use that in the next step.
$ vcli tags add prod

+----+------+--------+----------------+---------+
| ID | Name | Static |  Organization  | Creator |
+----+------+--------+----------------+---------+
|  1 | prod | false  | [System Admin] | test(1) |
+----+------+--------+----------------+---------+
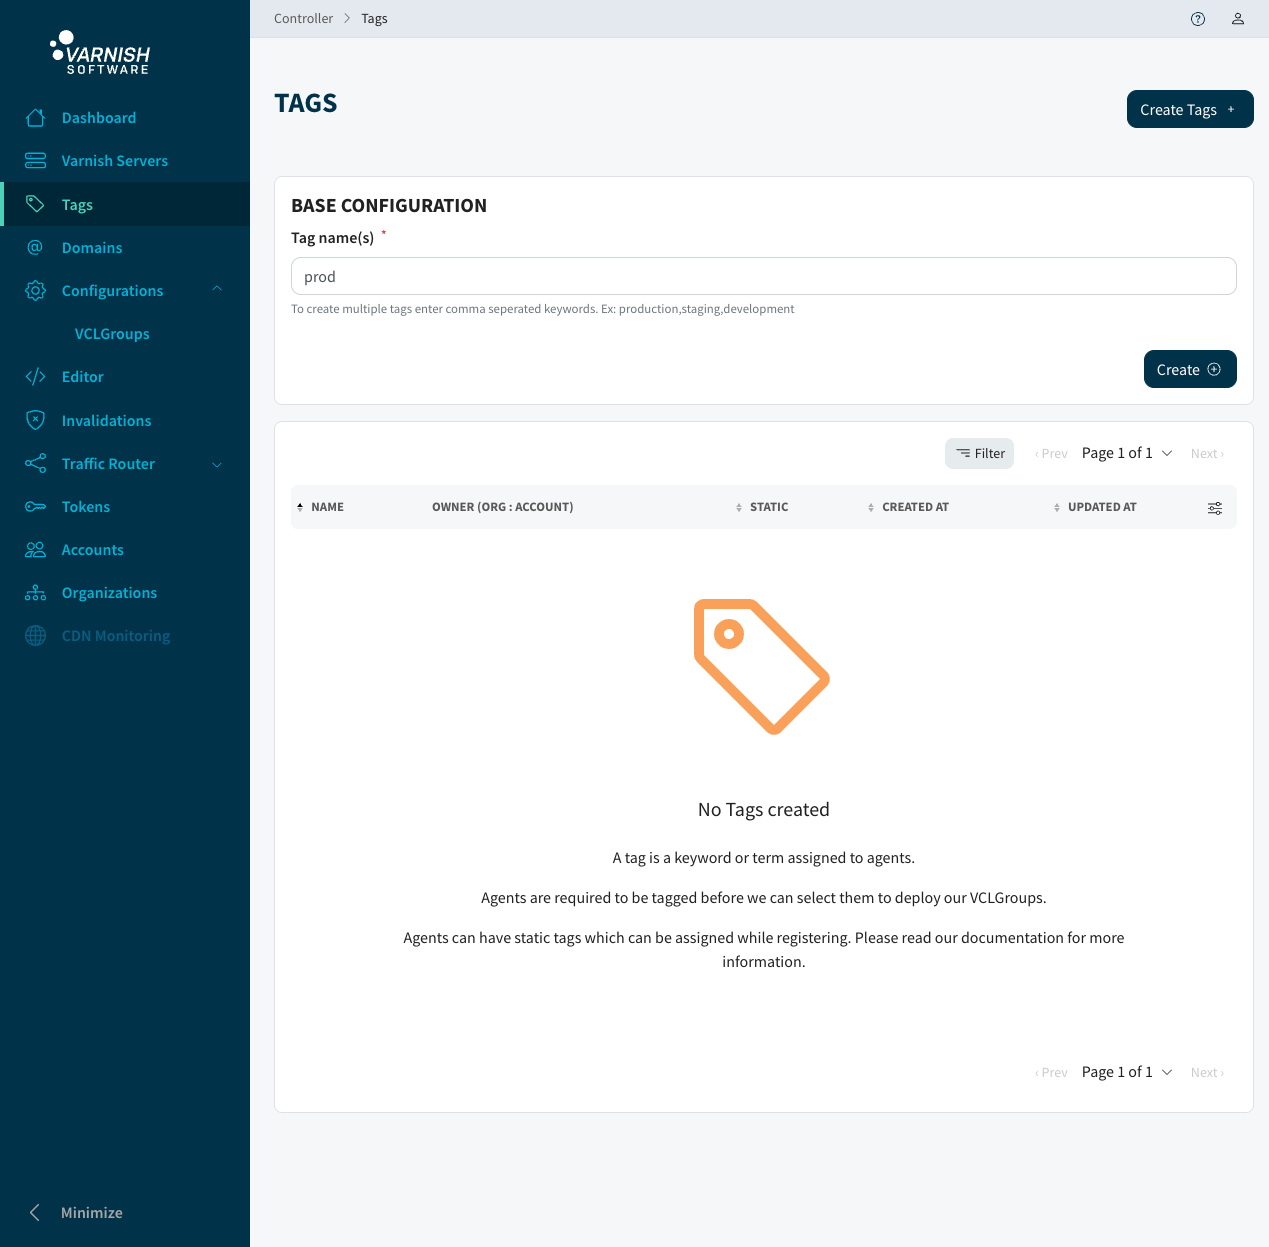
We create a tag at the Tags page. You can also create tags when tagging an agent.
After we created our tags, we can now tag our agents.
We can see our running agents with the command agents ls, we need to list the agents to see the agent IDs.
$ vcli agents ls

+----+---------+----------+---------------+--------------+-----------------+------+
| ID |  Name   |  State   | Varnish Host  | Varnish Port | Varnish Version | Tags |
+----+---------+----------+---------------+--------------+-----------------+------+
|  1 | server3 | Running  | 172.25.255.53 |         8083 | plus-6.0.7r1    |      |
|  2 | server1 | Running  | 172.25.255.50 |         8081 | plus-6.0.7r1    |      |
|  3 | server4 | ReadOnly | 172.25.255.55 |         8084 | plus-6.0.7r1    |      |
|  4 | server2 | Running  | 172.25.255.51 |         8082 | plus-6.0.7r1    |      |
+----+---------+----------+---------------+--------------+-----------------+------+
Now we can tag the agent that we want by using the agent tag command. The first parameter is the agent ID, the second parameter after --tags are the tag IDs separated by commas if you want to use multiple tags for an agent. There will be a question if you are sure you want to tag this agent, as it might effect existing VCLGroup configurations.
The tags will be reset with the tag command. So if you are using multiple tags you always need to specify all tags for the agent.
$ vcli agents tag 1 --tags 1

Changing tags for an agent could result in VCLGroups being undeployed, are you sure? (y/N): y
+----+---------+----------+---------------+--------------+-----------------+---------+
| ID |  Name   |  State   | Varnish Host  | Varnish Port | Varnish Version |  Tags   |
+----+---------+----------+---------------+--------------+-----------------+---------+
|  1 | server3 | Running  | 172.25.255.53 |         8083 | plus-6.0.7r1    | (1)prod |
|  2 | server1 | Running  | 172.25.255.50 |         8081 | plus-6.0.7r1    |         |
|  3 | server4 | ReadOnly | 172.25.255.55 |         8084 | plus-6.0.7r1    |         |
|  4 | server2 | Running  | 172.25.255.51 |         8082 | plus-6.0.7r1    |         |
+----+---------+----------+---------------+--------------+-----------------+---------+
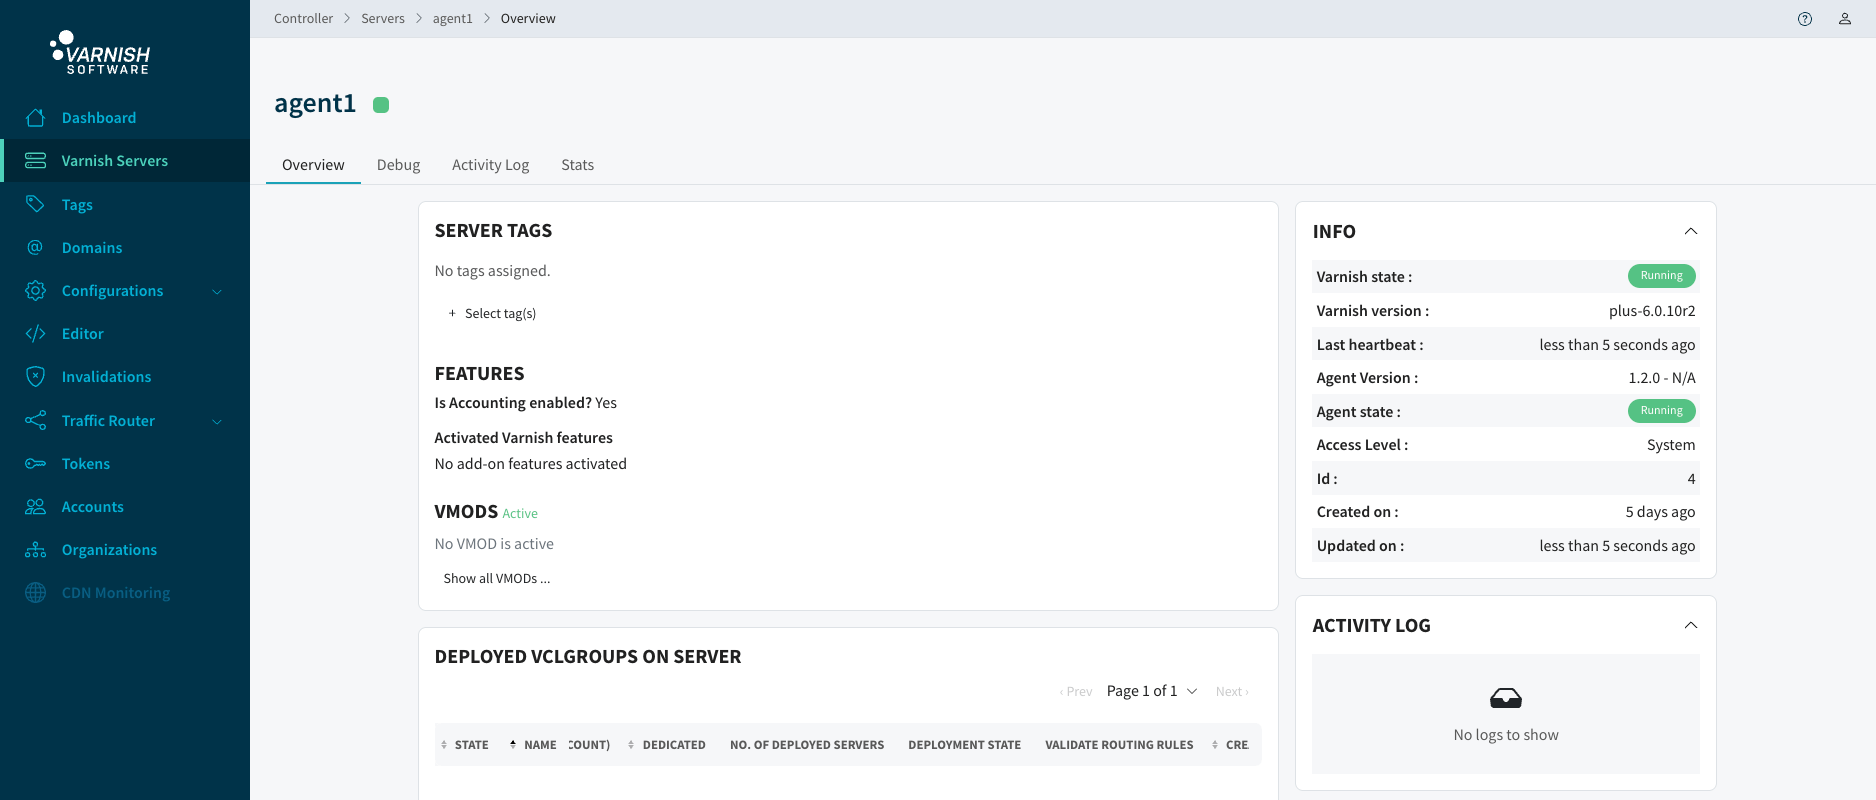
We go to the Servers page, there we click on the server we want to tag.
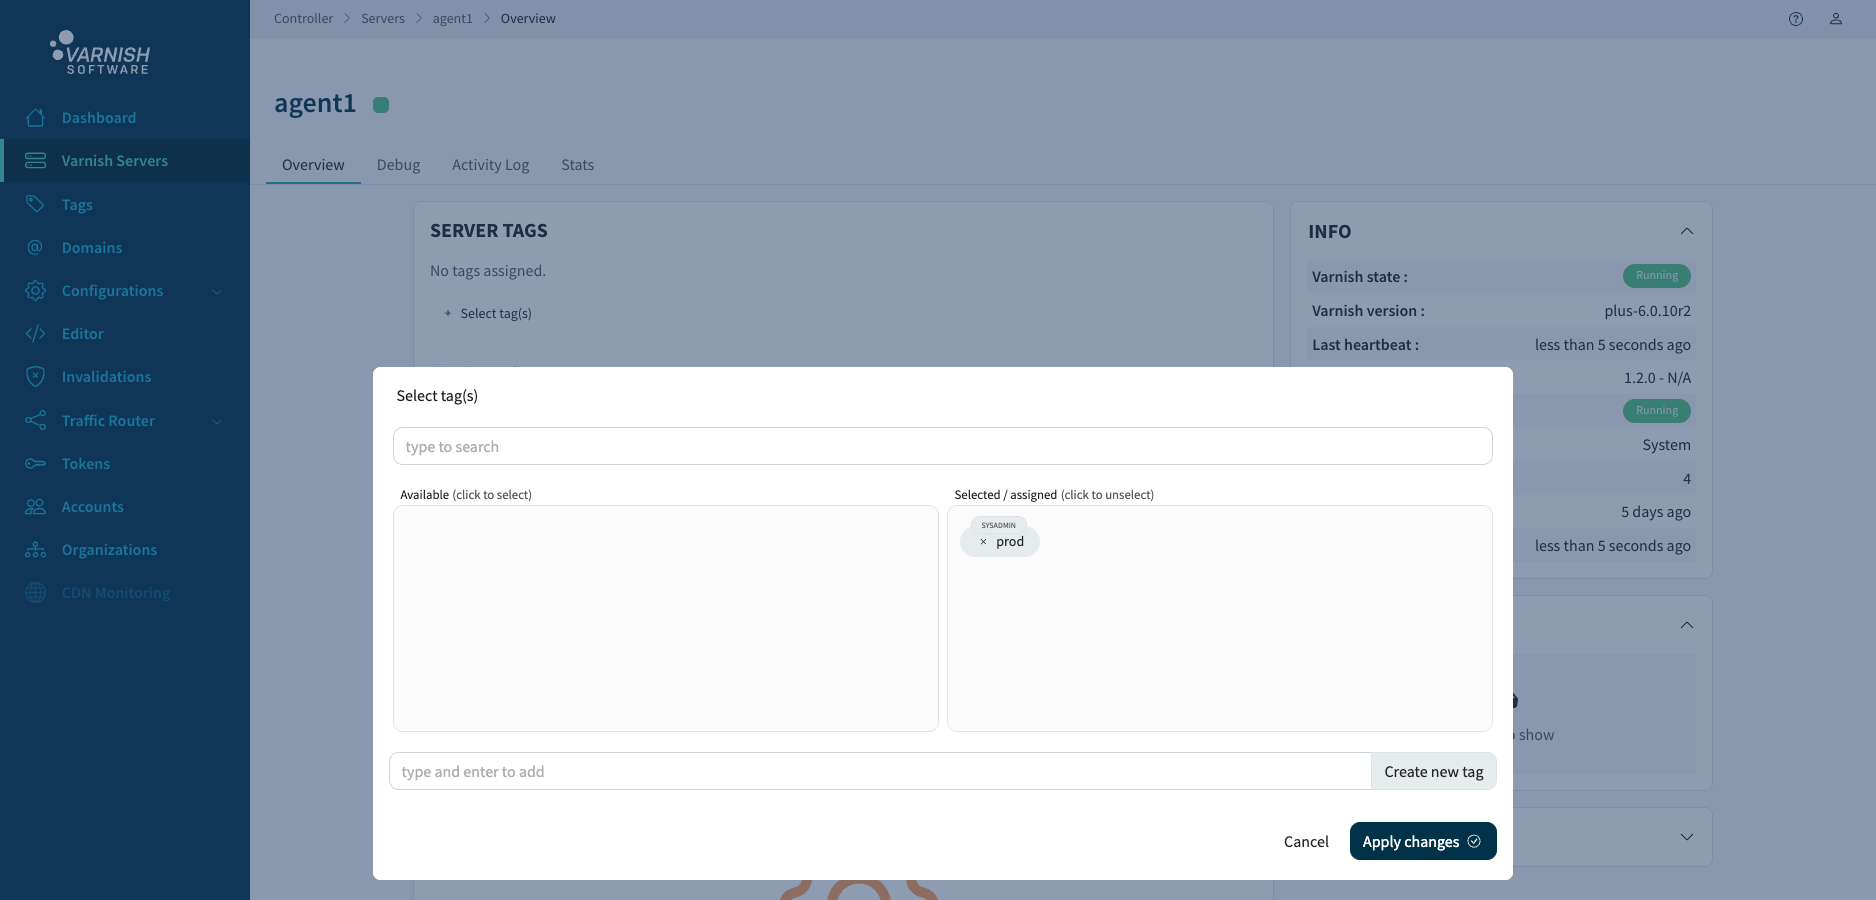
Click on Select tag(s). A modal will appear with the tag you just created, click on it and click Apply changes. In this modal you can create tags as well.
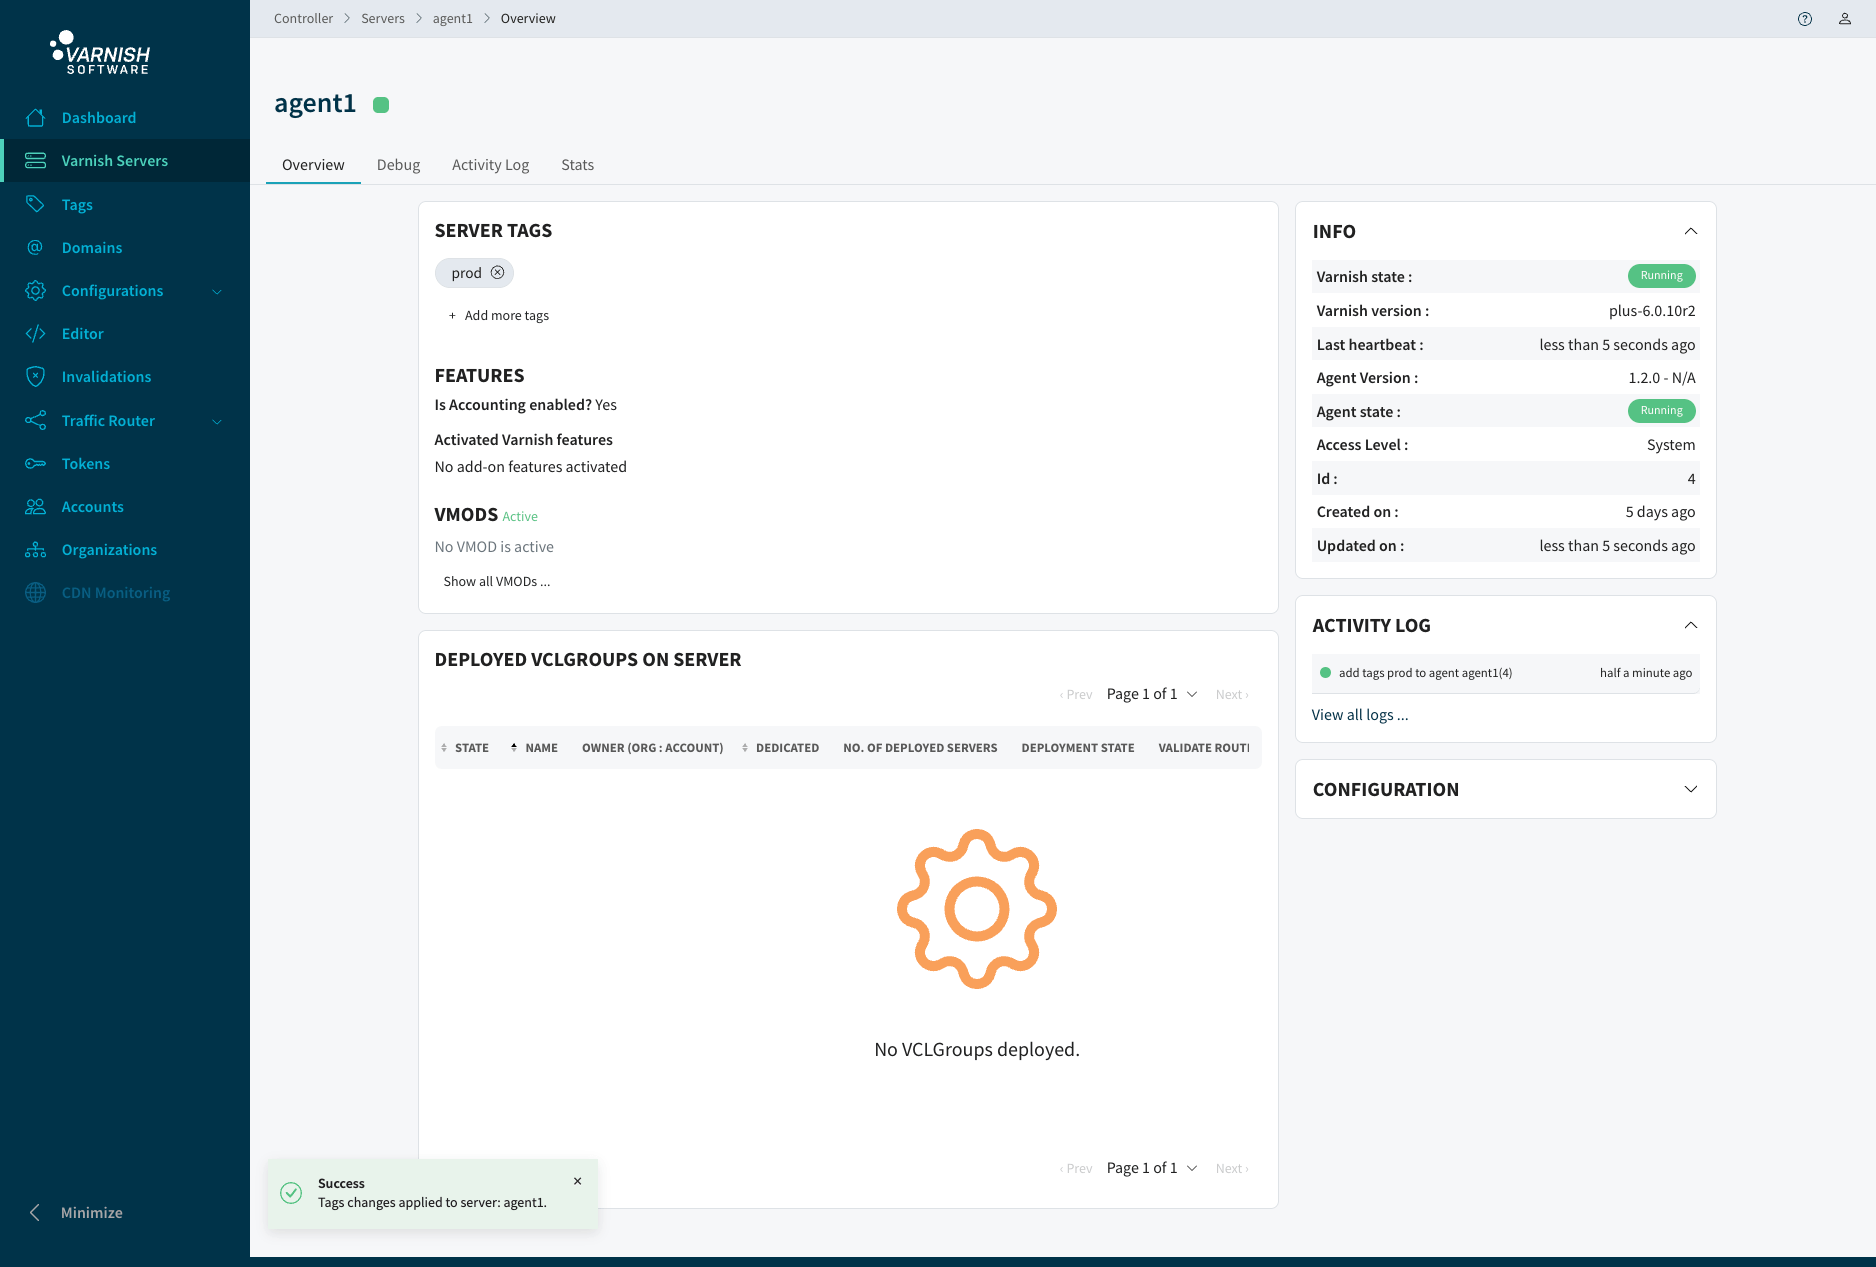
When the changes are applied you will see a green notification and the tag will be visible before the Add more tags button.
We need to add the domains that our site will be available at.
In the CLI we use the domains add command. Remember the domain ID, we need that later on.
$ vcli domains add example.org

+----+-------------+----------------+---------+
| ID |    FQDN     |  Organization  | Creator |
+----+-------------+----------------+---------+
|  1 | example.org | [System Admin] | test(1) |
+----+-------------+----------------+---------+
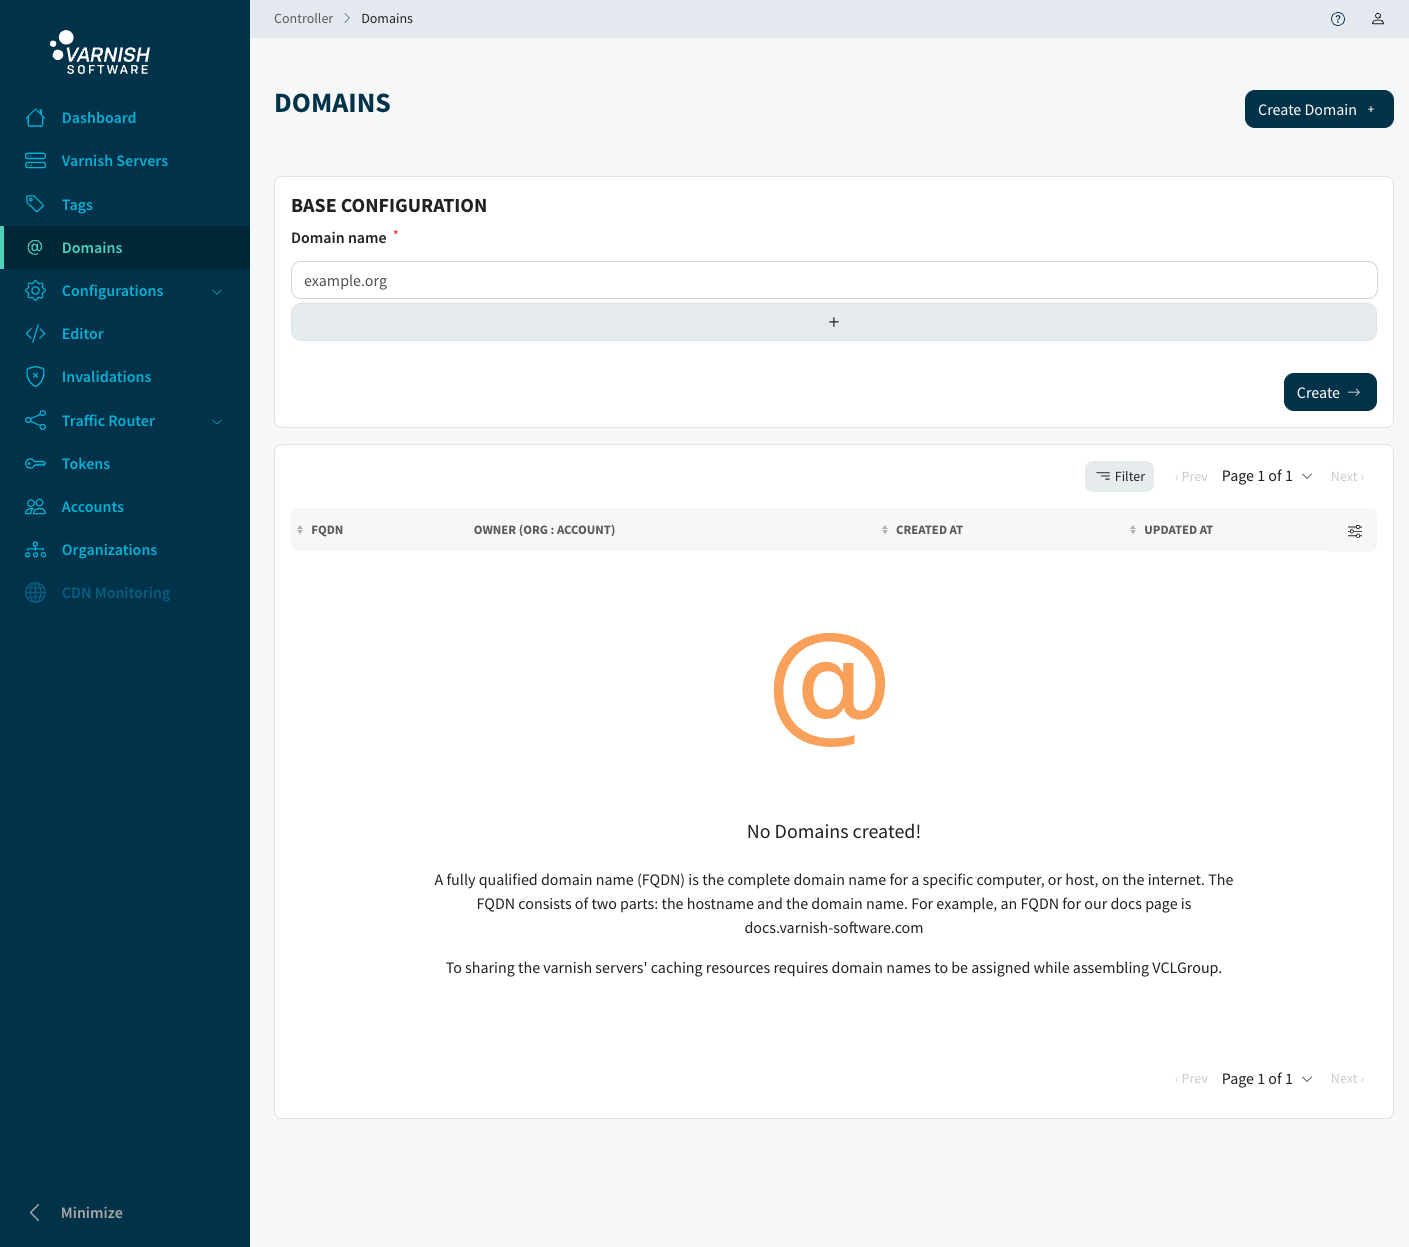
We go to the Domains page to create a domain. Click Create Domain, add the FQDN in the field (you can add multiple at once with the plus button) and click the Create button. The domain is now created.
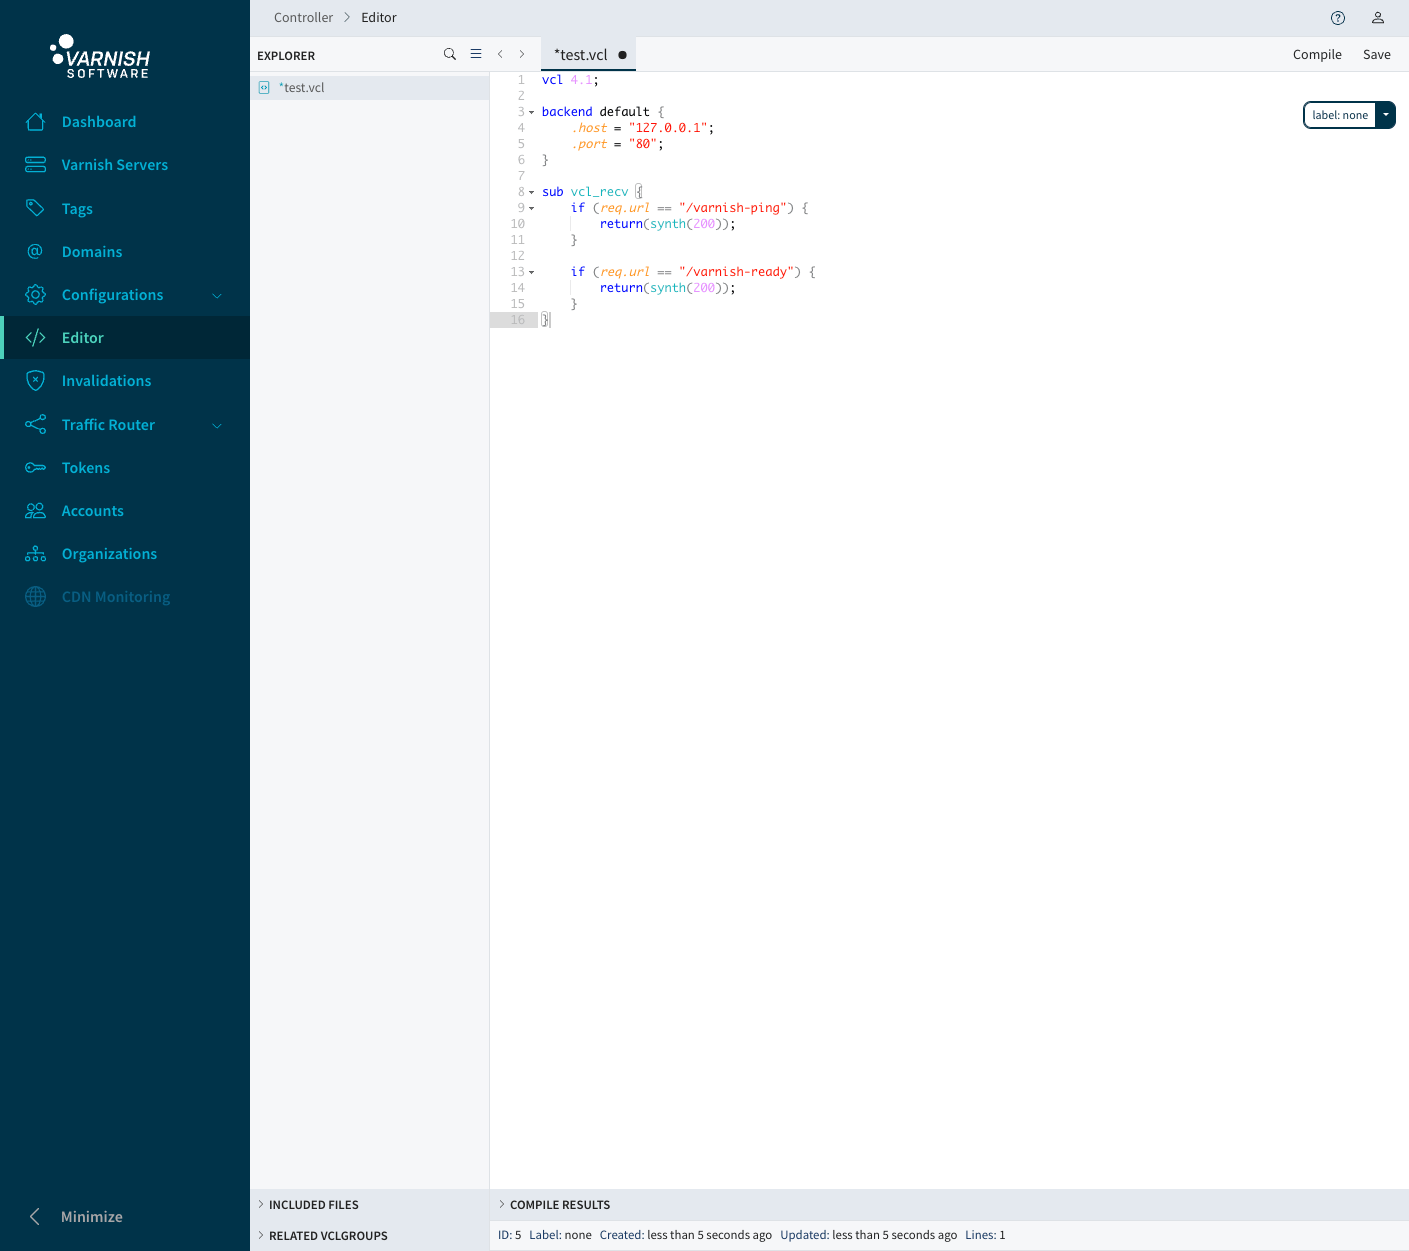
Next we need to add a VCL file, we will use a very simple VCL file. This VCL file needs to be configured to your specific needs, for some VCL information please refer to our developer portal.
vcl 4.1;

backend default {
    .host = "127.0.0.1";
    .port = "80";
}

sub vcl_recv {
    if (req.url == "/varnish-ping") {
        return(synth(200));
    }

    if (req.url == "/varnish-ready") {
        return(synth(200));
    }
}
Adding a VCL with the CLI is pretty easy. The first parameter is the name of the VCL that you wish to use in the Varnish Controller, in this case test.vcl. The second parameter is the path to a file on your system or the VCL source. Remember the ID of the file as we need it later.
$ vcli file add test.vcl ./example.vcl

+----+----------+-------+---------------------------+-----+----------------+---------+
| ID |   Name   | State |          Content          | SHA |  Organization  | Creator |
+----+----------+-------+---------------------------+-----+----------------+---------+
|  1 | test.vcl | New   | text/plain; charset=utf-8 |     | [System Admin] | test(1) |
+----+----------+-------+---------------------------+-----+----------------+---------+
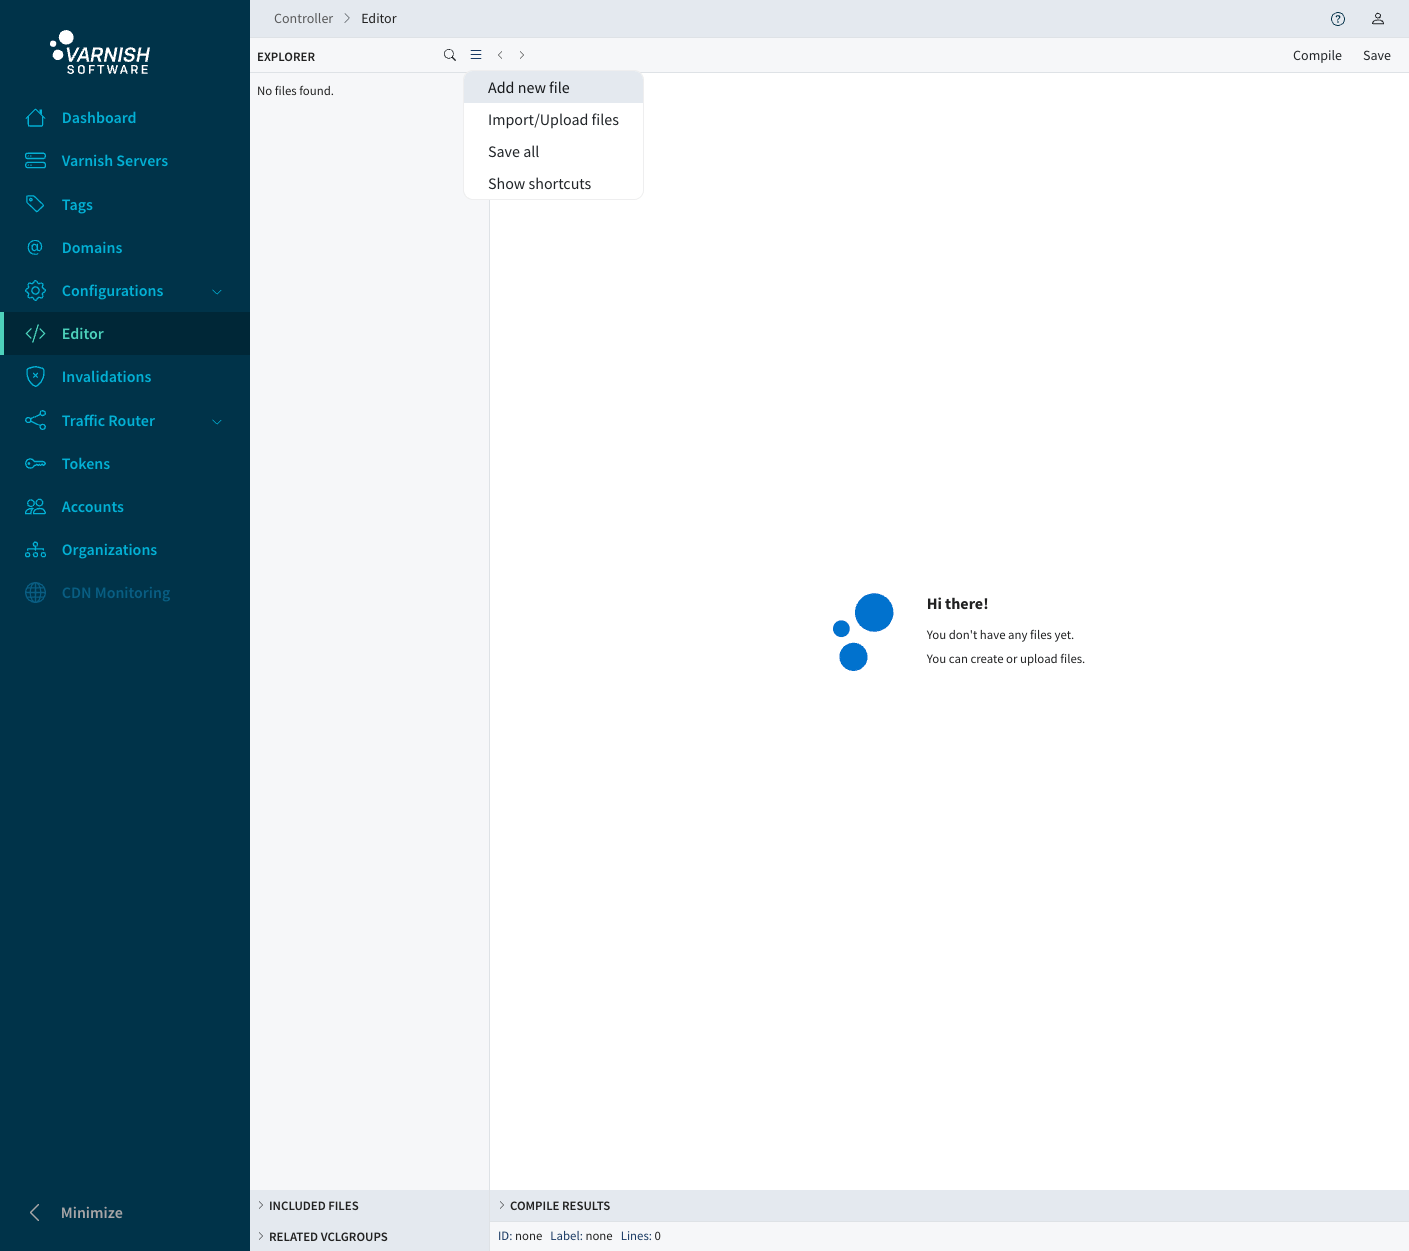
We go to the Editor. click the hamburger icon next to the search icon, and press Add new file Enter the name of the file you want to create and press enter.
Now you can add the contents of your VCL, at the top right there is a save button. You can also save by right-clicking the file, and press save from the popup-menu, or use one of the pre-defined shortcuts found under the hamburger menu.
We are almost ready to have our VCL running on Varnish. Creating a VCLGroup is an important step as it defines where your VCL runs, on how many agents and for what domains.
Before we can create a VCLGroup we need to setup a deployment configuration. A deployment configuration defines on what tags and how many agent the VCL will be available at. The first parameter the command takes is a name for our deployment configuration. The second parameter --tags defines on which tags the deployment configuration will be deployed to. You can specify multiple separated by commas. The third & fourth parameter --min and --max define on how many agents the VCL will be run. Here we specify to run at least on 1 agent and maximum run on 2. This means that if we tag another agent with the prod tag it will be automatically receive this VCL.
$ vcli dep add test_dc --tags 1 --min 1 --max 2

+----+---------+------------+-----+-----+---------+----------+---------+----------------+---------+
| ID |  Name   | VCLGroupID | Max | Min | Current |  State   |  Tags   |  Organization  | Creator |
+----+---------+------------+-----+-----+---------+----------+---------+----------------+---------+
|  1 | test_dc |            |   2 |   1 |       0 | Inactive | (1)prod | [System Admin] | test(1) |
+----+---------+------------+-----+-----+---------+----------+---------+----------------+---------+
Next we need to create the VCLGroup, we will call it test. The first parameter is the name test, the second parameter is --dep this is the ID of the deployment configuration that we just created. The third parameter is the domain we created previously, you can specify multiple domains separated by a comma. The last parameter is the VCL file that we want to use.
$ vcli vg add test --dep 1 --dom 1 --vcl 1

+----+------------+------+-------+----------+---------------+---------------+----------+----------------+-----------------------+----------------+---------+
| ID | Staging ID | Name | Root  | Deployed | Compile State |    MainVCL    | Includes |    Domains     |      Deployments      |  Organization  | Creator |
+----+------------+------+-------+----------+---------------+---------------+----------+----------------+-----------------------+----------------+---------+
|  1 |            | test | false | false    | Unknown       | [empty]       | [empty]  | (1)example.org | (1)test_dc [Inactive] | [System Admin] | test(1) |
|    |            |      |       |          |               | --- Draft --- |          |                |                       |                |         |
|    |            |      |       |          |               | (1)test.vcl   |          |                |                       |                |         |
+----+------------+------+-------+----------+---------------+---------------+----------+----------------+-----------------------+----------------+---------+
We will use the following command to start the deployment of your VCLGroup.
$ vcli vg deploy 1

+----+------------+------+-------+----------+---------------+-------------+----------+----------------+---------------------+----------------+---------+
| ID | Staging ID | Name | Root  | Deployed | Compile State |   MainVCL   | Includes |    Domains     |     Deployments     |  Organization  | Creator |
+----+------------+------+-------+----------+---------------+-------------+----------+----------------+---------------------+----------------+---------+
|  1 |            | test | false | true     | Successful    | (1)test.vcl | [empty]  | (1)example.org | (1)test_dc [Active] | [System Admin] | test(1) |
+----+------------+------+-------+----------+---------------+-------------+----------+----------------+---------------------+----------------+---------+
You have now successfully deployed your VCL file with the Varnish Controller.
Go to the Configurations page and click the create button. You will be presented with the configuration screen of a VCLGroup. First we enter a name for our VCLGroup, a name for our deployment configuration will automatically be generated based on our VCLGroup name. Next we can select our domain that we created, you can create new domains here as well.
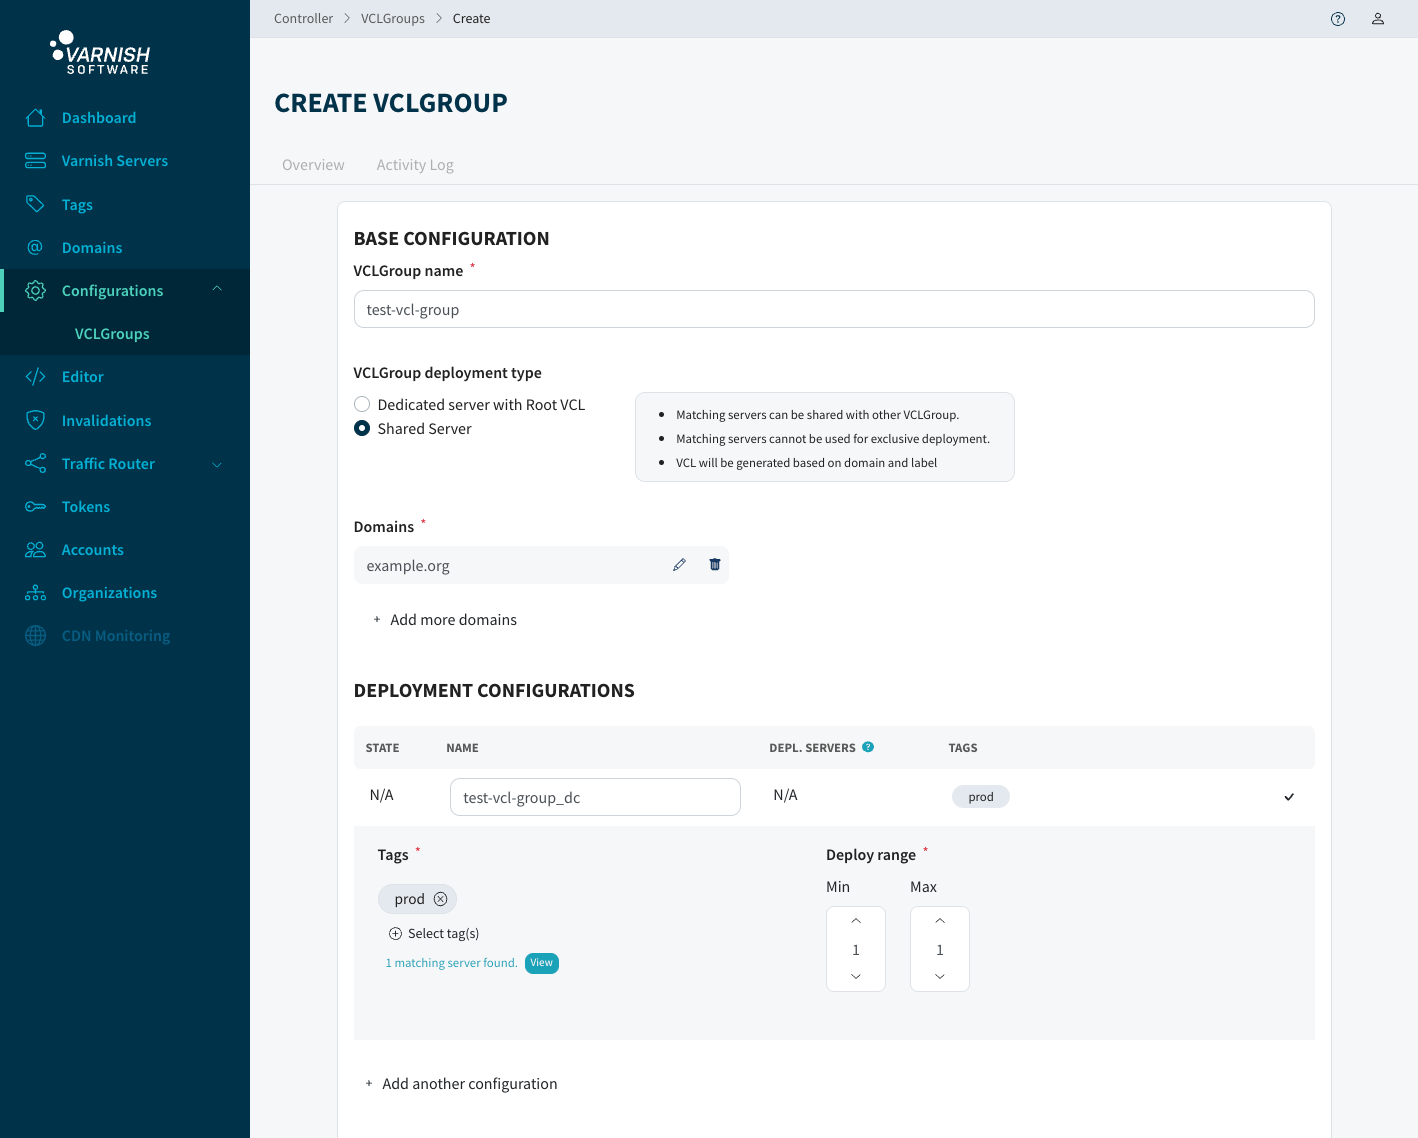
The next step is the deployment configurations. You can add multiple configurations to your VCLGroup. With the Min and Max we can specify on how many agents, that are using the selected tag, this configuration will be run at. We select the prod tag that we created. After we selected our tag we can select our VCL file from the Browse alternatives button, or drop a file from your local drive in the box.
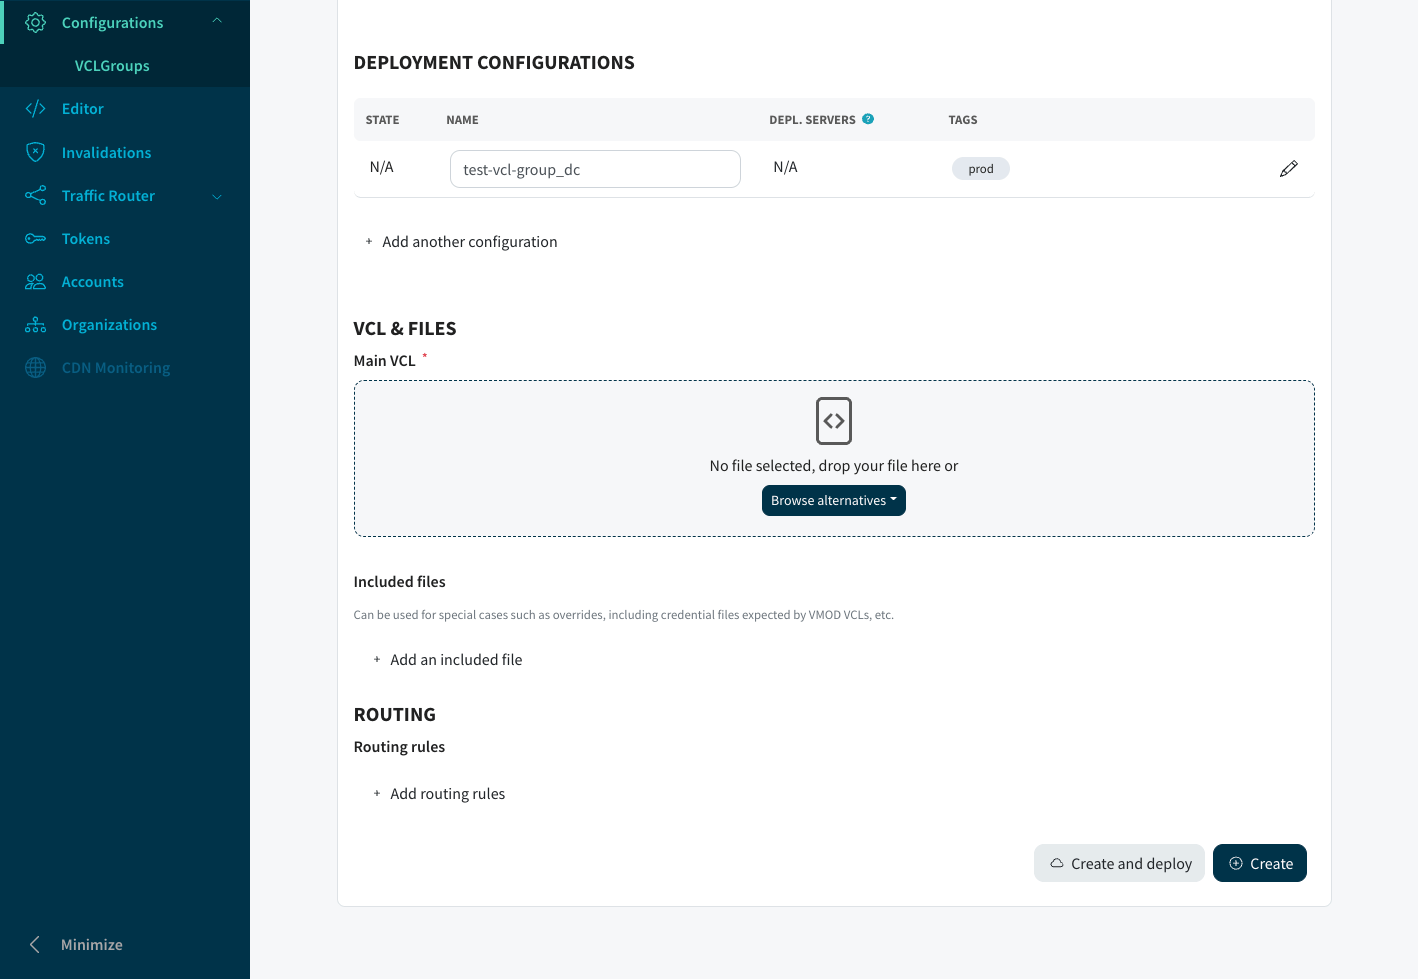
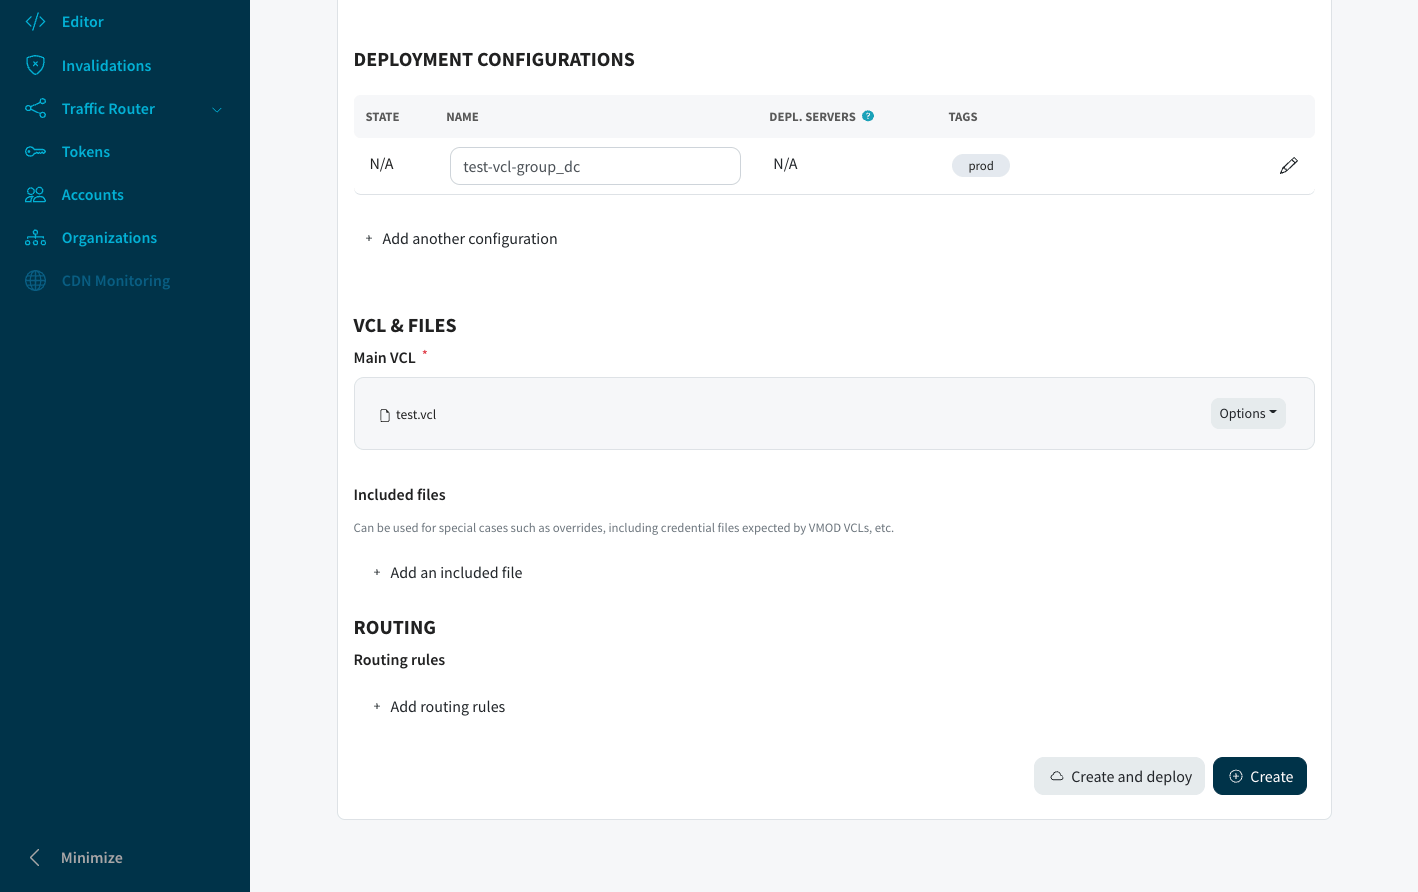
At the end your configuration you can click on the Create and deploy button. This will create your VCLGroup and deploy it to the agent that we tagged before.
You have now successfully deployed your VCL file with the Varnish Controller.